Get $100 OFF Your First Shoot

Gallery

Check out our impressive shots

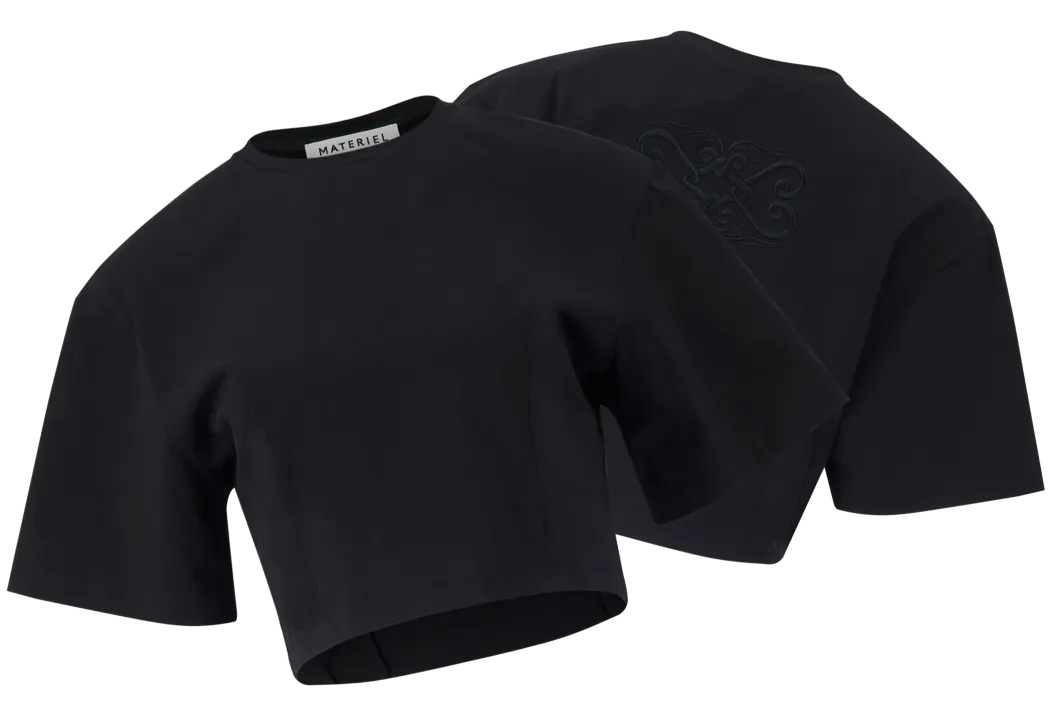
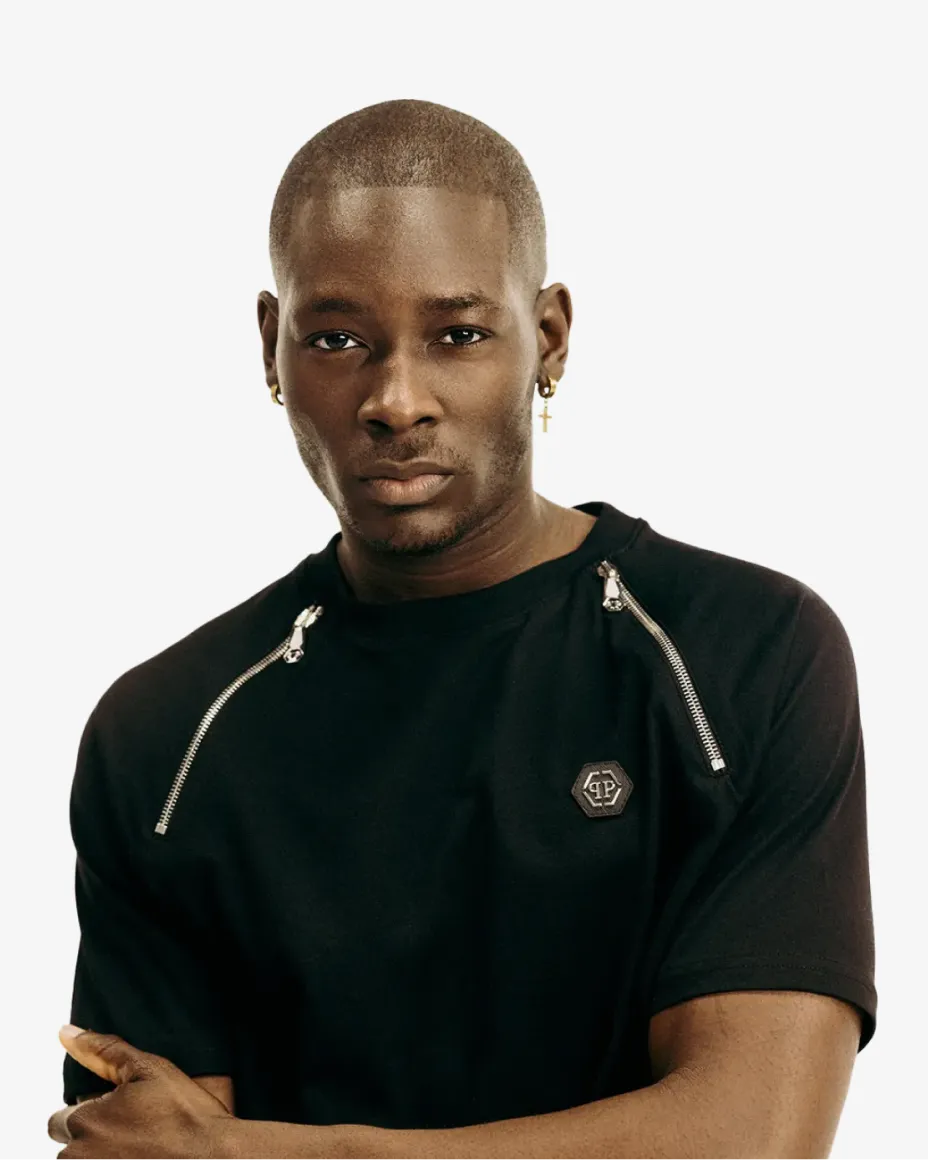
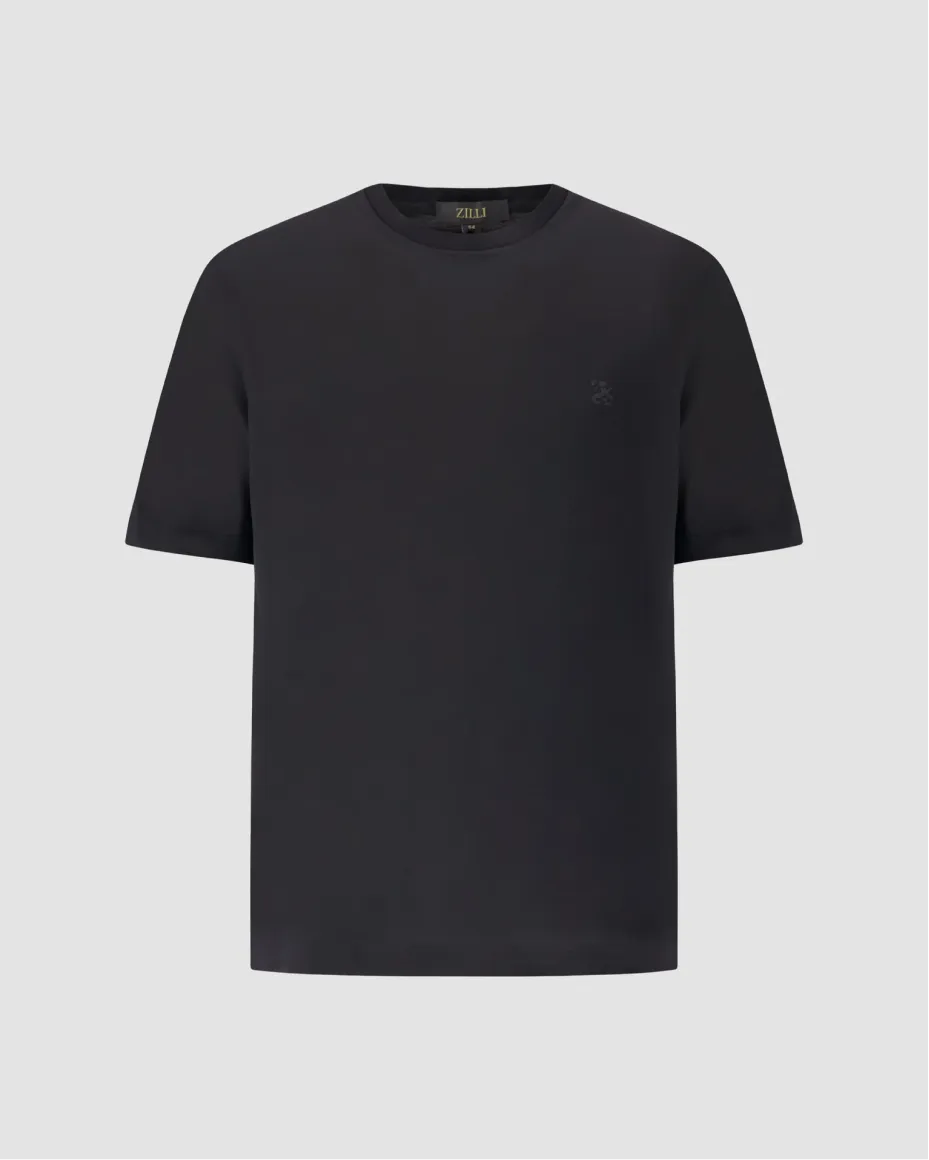
The difference between amateur and professional T-shirt product photos is enormous. It is especially true for such a specific field of work as object photography. It has well-defined rules that must be followed:

1. Use a good camera.

Without a good camera, it is simply not possible to make appealing photographs that can potentially be the deciding factor for your potential customers to buy your T-shirts. The camera has to be used with a macro lens. In addition, you will need a tripod for your photography session to avoid the camera shaking and subsequently, the photographs ending up blurry.

2. Create the right lighting conditions.

Natural sunlight is a great lighting source for any photographer during a given session. However, situations can occur where sunlight is not enough: in those cases, it is necessary to create the right artificial lighting conditions. Artificial lighting can only be set up by a professional. For this, several pieces of equipment are necessary: a lighting source itself, a softbox, a battery, a holder, and a flash control. A softbox is needed to evenly distribute the lighting, a battery powers the lighting source, and a flash control turns the lighting into a flash.

3. Set up the right background.

An optimal choice of background for T-shirt product photography for commercial purposes is white or light-gray. If your T-shirts are mostly white, you can instead choose to use darker tones for your background. A seamless roll of white or other colors is ideal for a background. The product has to be placed on a mannequin in the middle of the background, directly facing the camera.

4. Use a mannequin in your photography sessions.

Using mannequins during T-shirt product photography sessions for commercial purposes is a trending style of making high-quality photographs. Mannequins allow the audience to imagine themselves or their friends in place of the model depicted in the photographs. If the clothing item is of a larger size than the mannequin was designed for, you can use pins or carefully make folds.

5. Edit the photographs after the initial session.

Editing the T-shirt product photographs after the initial session is a very important process. To obtain high-quality photographs, you will need to align and crop the photos, correct the colors and, if needed, delete the background. You have to strictly follow the order of procedure to avoid mistakes.

As you can see, following all the intricate rules of T-shirt product photography for commercial purposes is not viable for an amateur. It is only professional photographers who can do this work justice. That is why you should not try to cut costs on hiring specialists to make your product photos. Don’t be penny wise and pound foolish. Contact Stylephotos, and we will create high-quality T-shirt product photography for you, which will guarantee an increase in your sales.

Photo editing

Basic Editing:
Image Cropping
White Balance Adjustments
Exposure & Contrast Adjustments
Visible Wrinkles Removal
Vibrance and Saturation Adjustments
Background Removal
Advanced Editing:
Skin Retouching
Colour Correction
Reflections
Colour Matching
Product Shaping
Jewellery Editing

Our Clients

Who Used This Service?